
Emergency Power Backup Guide for Reliable Solar Solutions
Missing reliable backup power can turn even the most carefully planned camping trip or van journey into a stressful scramble. For eco-conscious travelers, finding a green solution that keeps devices and essentials running during unexpected outages is key. This article provides a clear, step-by-step guide to assessing your needs and choosing portable solar power systems that offer dependable energy, safety, and peace of mind wherever your adventures lead.
Table of Contents
- Step 1: Assess Your Emergency Power Needs
- Step 2: Select and Set Up Portable Power Equipment
- Step 3: Connect and Operate Essential Devices
- Step 4: Test and Verify System Performance
Quick Summary
| Key Point | Explanation |
|---|---|
| 1. Assess power needs accurately | List devices, calculate watt-hours, and consider runtime to avoid under or overbuying solar capacity. |
| 2. Select suitable portable power stations | Match watt-hour capacity with your needs; consider features like outlet types, battery chemistry, and expandability. |
| 3. Prioritize connections during an outage | Connect essential devices first, such as medical equipment, to ensure critical needs are always met. |
| 4. Regularly test your power system | Run thorough tests before emergencies to confirm functionality and document performance to avoid surprises later. |
| 5. Maintain clear device management | Use labels and reference materials to monitor power draw and connections, preventing mistakes under stress. |
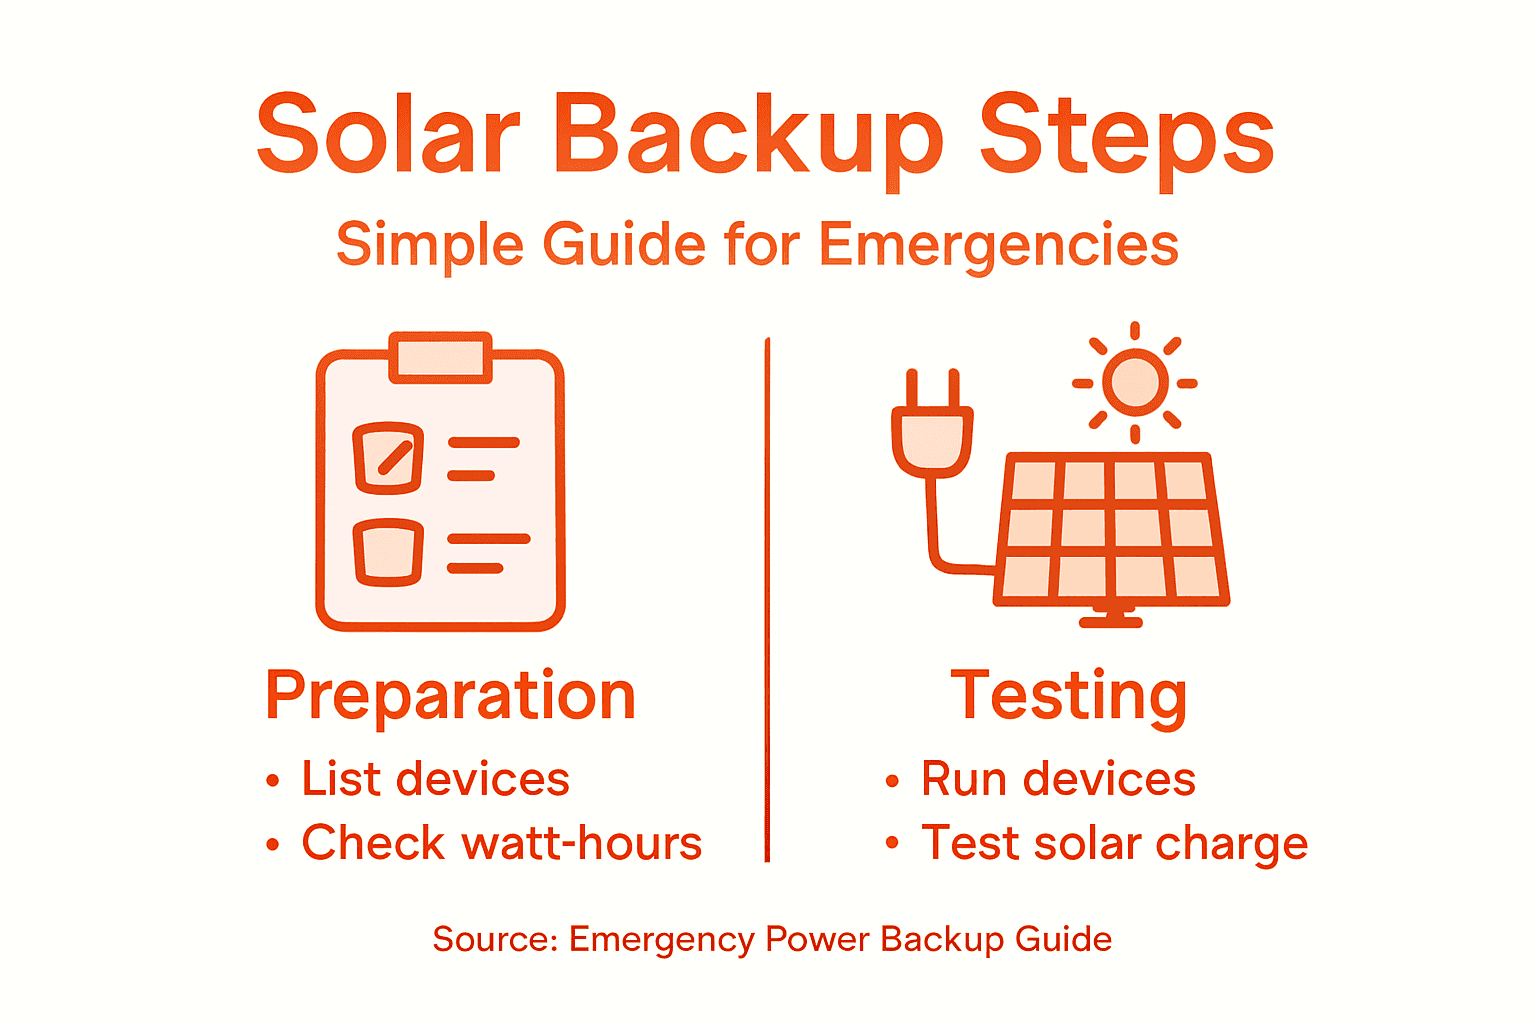
Step 1: Assess Your Emergency Power Needs
Before you invest in solar backup power, you need to know what you’re actually powering. Without this assessment, you might buy too little capacity and face dead devices mid-trip, or overspend on power you’ll never use. This step takes maybe 30 minutes but saves you money and frustration later.
Start by listing every device you’d want to run during an outage or extended camping trip. Include phones, laptops, medical equipment like CPAP machines, lights, fans, and refrigeration. Be honest about what truly matters to you versus what’s nice-to-have.
Next, find the wattage and runtime for each item. Most devices display watts on a label, or you can search “[device name] power consumption” online. Runtime is how long you’d realistically use it. A laptop might run 8 hours daily, but a blender only runs 5 minutes.
Here’s the calculation that matters:
- Multiply watts × hours for each device to get watt-hours
- Example: 100-watt laptop running 8 hours = 800 watt-hours daily
- Add all daily totals together for your base requirement
Consider how long you need this power. Are we talking 4-hour outages or multi-day emergencies? Longer emergencies need bigger capacity, so add buffer. Following power resilience best practices, plan for scenarios longer than you expect.
Also account for solar recharging time. If you’re using panels to recharge during the day, you can run smaller capacity overnight. If you need continuous power without sunlight, you’ll need everything upfront.
This summary helps you estimate how solar recharging impacts your available power during an emergency:
| Sunlight Hours per Day | Solar Panel Output (W) | Typical Daily Generation (Wh) | Recommended Usage Approach |
|---|---|---|---|
| 2 | 100 | 200 | Only essential device operation |
| 4 | 100 | 400 | Moderate device use, limit high-drain |
| 6 | 100 | 600 | Most devices supported, add a buffer |
Don’t forget inefficiency losses. Inverters and charging processes lose roughly 10-20% of energy, so add that buffer to your total.
Know your exact power needs before buying. Guessing wastes money and leaves you unprepared when it counts.
Pro tip: Create a simple spreadsheet with device name, watts, daily hours, and daily watt-hours. This document becomes your reference when comparing portable power stations and helps you understand what capacity you actually need versus marketing hype.
Step 2: Select and Set Up Portable Power Equipment
Now that you know your power needs, it’s time to choose the right equipment and get it ready for action. The right portable power station becomes your lifeline during outages, so selection matters more than grabbing the cheapest option.
Start by matching your calculated watt-hours to available capacity. A power station with 540Wh capacity works differently than one with 200Wh, and your device list determines which makes sense. Look for systems with multiple outlet types to handle different plugs and charging cables.
Here’s a quick guide comparing battery chemistries you might encounter in portable power stations:
| Battery Type | Lifespan | Main Benefits | Key Considerations |
|---|---|---|---|
| LiFePO4 | 2000-3500+ cycles | Longest life, stable, safe | Higher cost, heavier |
| Lithium-ion | 500-1000 cycles | Lightweight, lower cost | Shorter lifespan, less safe |
| Lead-acid | 300-500 cycles | Cheapest option, easy to find | Bulky, low energy density |
Consider these key features when selecting your equipment:
- Battery chemistry matters (LiFePO4 lasts longer than lithium-ion)
- AC outlet count should match your simultaneous power needs
- Solar panel compatibility if you plan daytime recharging
- Weight and portability for van life or camping transport
- Expandability to add more capacity later
Once you’ve selected your equipment, the setup phase is critical. Start with a thorough inspection before first use. Check for physical damage, verify all connections are tight, and confirm the unit powers on smoothly. Following temporary power safety guidelines, ensure proper grounding and GFCI protection for safe operation.
Set up your station in a well-ventilated location away from moisture and extreme heat. Never operate it in enclosed spaces or directly in rain. If using solar panels, position them for optimal sun exposure and secure connections carefully.
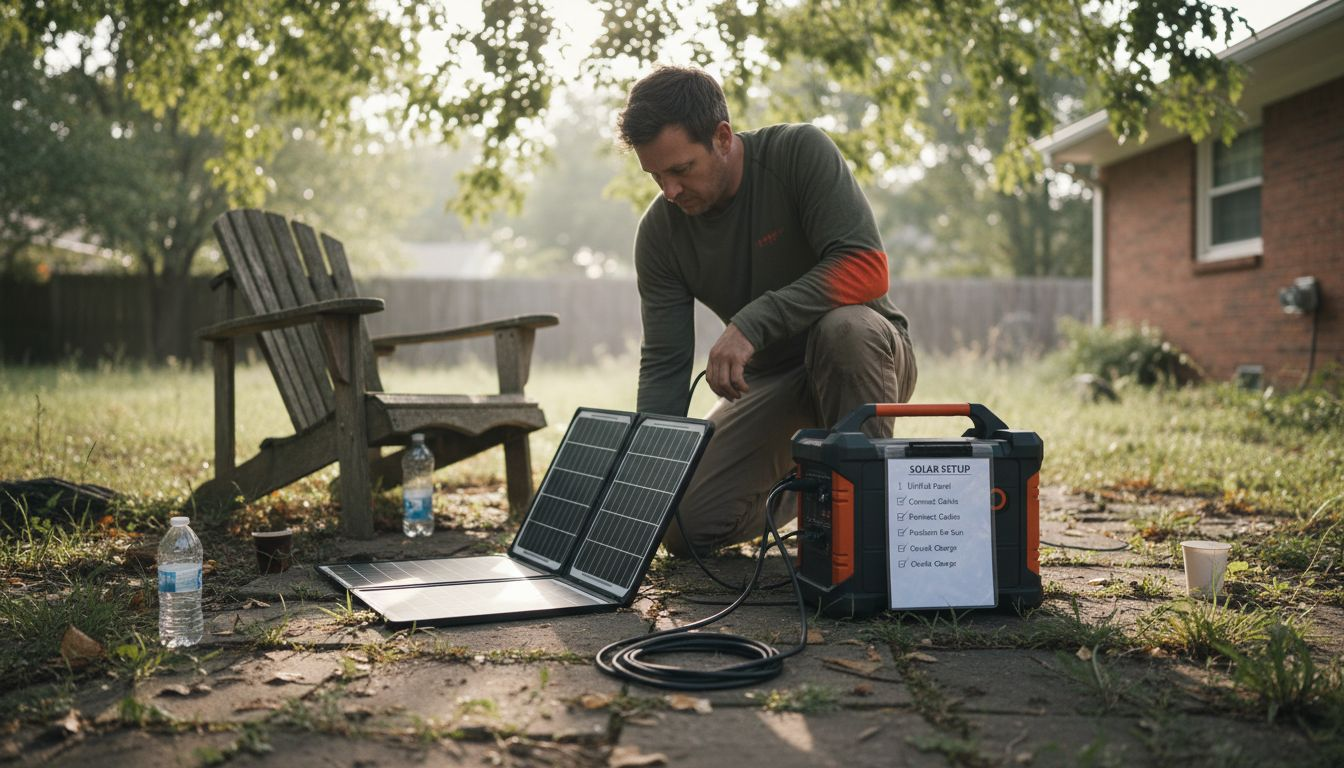
Before plugging in valuable devices, test the system with something low-risk like a lamp. This confirms output quality and reveals any issues safely. Check that the inverter is producing clean power suitable for sensitive electronics.
Create a simple charging routine. If grid power is available, charge during off-peak hours. If relying on solar, charge panels during peak sunlight, typically 10am to 2pm. This routine prevents deep discharge cycles that wear down batteries faster.
A properly selected and set up power station handles multiple devices simultaneously without failure. This reliability is what makes the difference during actual emergencies.
Pro tip: Keep a physical checklist of your equipment’s input/output ports and specifications taped to the unit itself—when panic sets in during a real outage, you’ll reference it faster than searching manuals.
Step 3: Connect and Operate Essential Devices
This is where your backup power system comes to life. You’ll connect your devices safely and establish a routine that keeps everything running smoothly during outages or extended trips. Done right, this step becomes second nature.
Start by prioritizing which devices connect first. Medical equipment and life-support systems go first, followed by communication devices, then comfort items. This hierarchy ensures critical needs are met even if capacity fills up quickly.
Follow these connection steps in order:
- Power off the device before plugging it into the station
- Verify the power station has enough remaining capacity for that device
- Use the correct outlet type (AC, DC, or USB) based on your device’s plug
- Switch on the device after secure connection
- Monitor the display to confirm the station is outputting power
For devices requiring continuous operation, understand that seamless transfer between power sources prevents interruptions. Never unplug a running device from one source to switch to another. Instead, plug the new source in first, verify it’s providing power, then disconnect the old one.
Label everything clearly. Use colored tape or markers to identify which devices connect to which outlets, especially if you’re managing multiple power stations. This prevents confusion during stressful situations when quick decisions matter.
Monitor your remaining capacity constantly. Keep a mental note of how much power your connected devices draw. A 300-watt laptop plus a 100-watt fridge equals 400 watts continuously, draining a 540Wh station in roughly 1.5 hours without recharging. Manage your loads realistically.
Don’t forget about charging cycles. Rotating which devices draw power reduces strain on any single outlet and extends battery life. If you’re camping with solar panels, intentionally charge high-draw devices during peak sunlight hours when your panels are generating maximum power.
Operating devices safely means protecting both your equipment and your power station. One wrong connection can damage expensive gear instantly.
Pro tip: Create a laminated card listing each device’s power draw and recommended outlet type, then keep it velcro-attached to your power station—instant reference when stress clouds your memory.
Step 4: Test and Verify System Performance
Before you depend on your backup power system during a real emergency, you need to know it actually works. Testing reveals problems when you can fix them, not when your devices are dying in the dark. This step takes a few hours but saves you from discovering failures when stakes are highest.
Start with a full charge cycle on your power station. Plug it into wall power or solar panels and let it reach 100 percent capacity. Check that the display shows accurate charge levels and that charging time matches manufacturer specifications.
Once fully charged, run through these verification tests:
- Connect a single low-power device (lamp, phone charger) and monitor for 30 minutes
- Plug in multiple devices simultaneously to test handling under load
- Check each outlet type (AC, USB-C, DC) to confirm all function properly
- Run high-draw devices like a laptop or small refrigerator for extended periods
- Monitor temperature to ensure the station stays cool under load
Following routine testing procedures for emergency systems, document how long the system powers your combined devices. If you listed needing 800 watt-hours daily, run that exact load and time how long the battery lasts. Real-world performance often differs slightly from specs.
Test your solar panels too. Position them in direct sunlight and verify that charging current displays on the power station. Watch the charge percentage climb steadily. Slow charging indicates panel issues or poor positioning that needs correction now, not later.
Connect your medical devices during testing. If you rely on a CPAP machine or other critical equipment, confirm the power station runs it cleanly without voltage fluctuations that could damage components. Check for any unusual sounds or smells during operation.
Document all results. Record how long each test lasted, how many devices you ran, and what battery percentage remained. This baseline data becomes your reference for future performance.
A system that performs well in testing gives you confidence during actual outages. Find and fix problems while you still have grid power available.
Pro tip: Discharge your power station completely during one test cycle to understand its true usable capacity—some systems reserve battery percentage for protection, reducing available power.
Get Ready for Reliable Emergency Power with Portable Solar Solutions
Facing unexpected power outages or planning off-grid adventures requires a backup system you can trust. This article highlights the crucial steps to assess your exact power needs and choose the best portable power equipment with solar charging capability. Tackling challenges like matching watt-hour capacity to your devices, ensuring safe setup, and testing performance means you stay powered when it matters most.
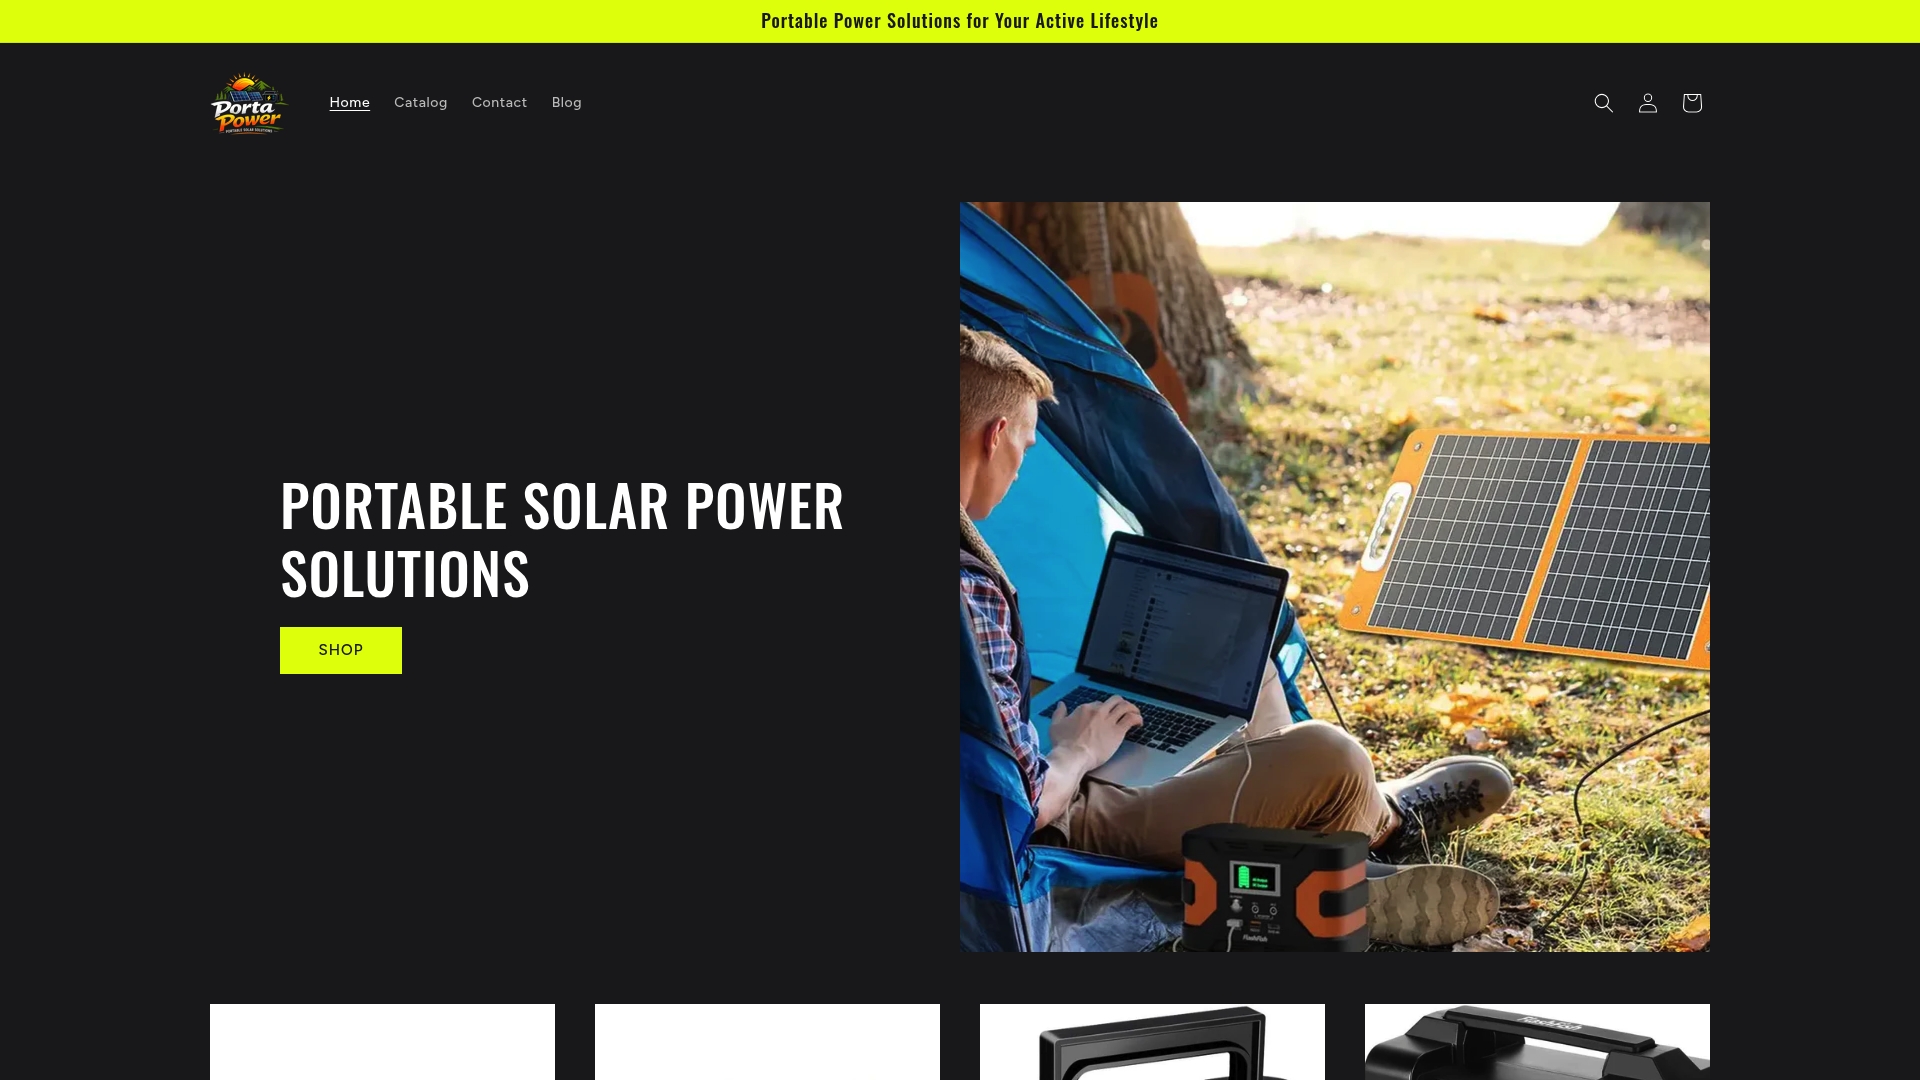
Empower yourself with high-quality portable power stations and foldable solar panels designed for rugged reliability and efficiency. Visit PortaPower Shop to explore versatile options that meet your emergency and outdoor power demands. Don’t wait until the next outage to discover your backup power is insufficient. Act now to equip your home, van life setup, or camping gear with clean energy solutions you can count on. Start your reliable power journey today at https://portapower.shop.
Frequently Asked Questions
How do I assess my emergency power needs for solar backup solutions?
Start by listing every device you want to run during an outage, including their wattage and expected runtime. Multiply the watts by the hours each device will run to calculate watt-hours, then add these together to determine your total power requirement.
What factors should I consider when selecting a portable power station?
Consider the power station’s capacity in watt-hours, the types of outlets it offers, and its compatibility with solar panels for recharging. Look for battery chemistry options, such as LiFePO4 for longer lifespan, and ensure it meets your power needs based on your calculations.
How can I ensure my solar backup system will operate effectively during an emergency?
Test your system in advance by fully charging your power station and running through various scenarios with your devices. This step confirms everything works together as intended and helps you identify any potential issues before an actual outage occurs.
What should I do if my portable power station isn’t charging properly with solar panels?
Reposition your solar panels to maximize direct sunlight exposure and check all connections for tightness. If issues persist, inspect the panels for damage or consider testing them with a different power station to isolate the problem.
How can I extend the battery life of my portable power station?
Rotate which devices draw power to minimize strain on any single outlet and avoid deep discharge cycles. Charge your power station during off-peak hours or when solar energy is plentiful, aiming to recharge it fully at least every few months to keep the battery healthy.